3 Minutes Read
Standing water and flooding are two issues you never want to deal with on your property. They can cause serious damage to your home, from the erosion of pavers and asphalt to foundation damage. The best way to protect your property is by ensuring there is a place for water runoff to go. You can provide your property with the best protection from water damage possible by doing a trench drain installation
What is a Trench Drain?
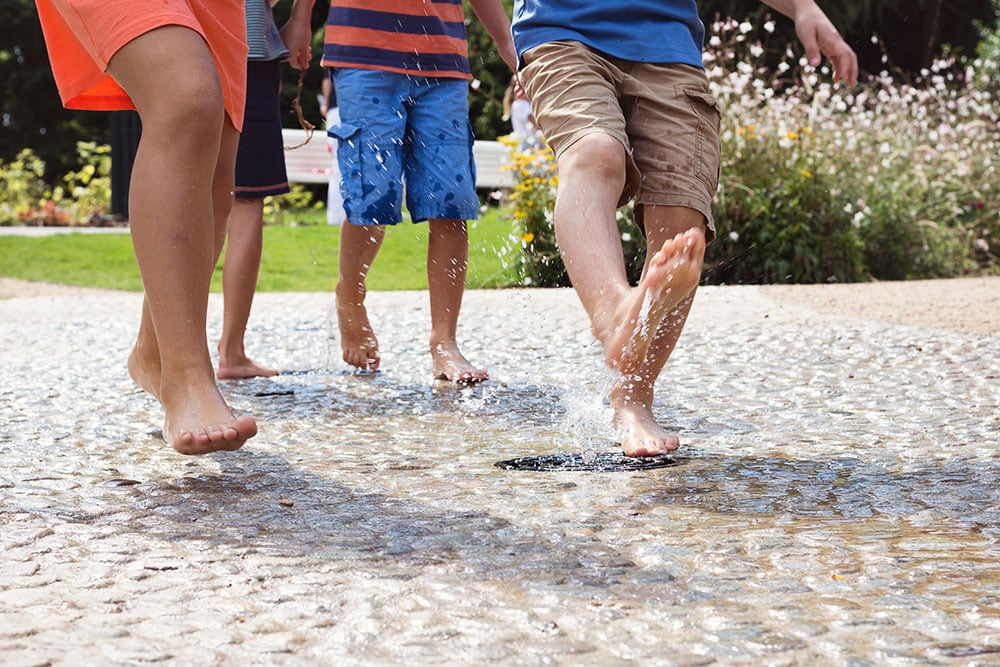
A trench drain is a form of drainage system commonly found outdoors. Trench drain systems help remove excess water from the surface of the area where it is installed. You can install a trench drain anywhere where standing water is an issue, but they are commonly used for driveways, sidewalks, parking lots, and similar areas.
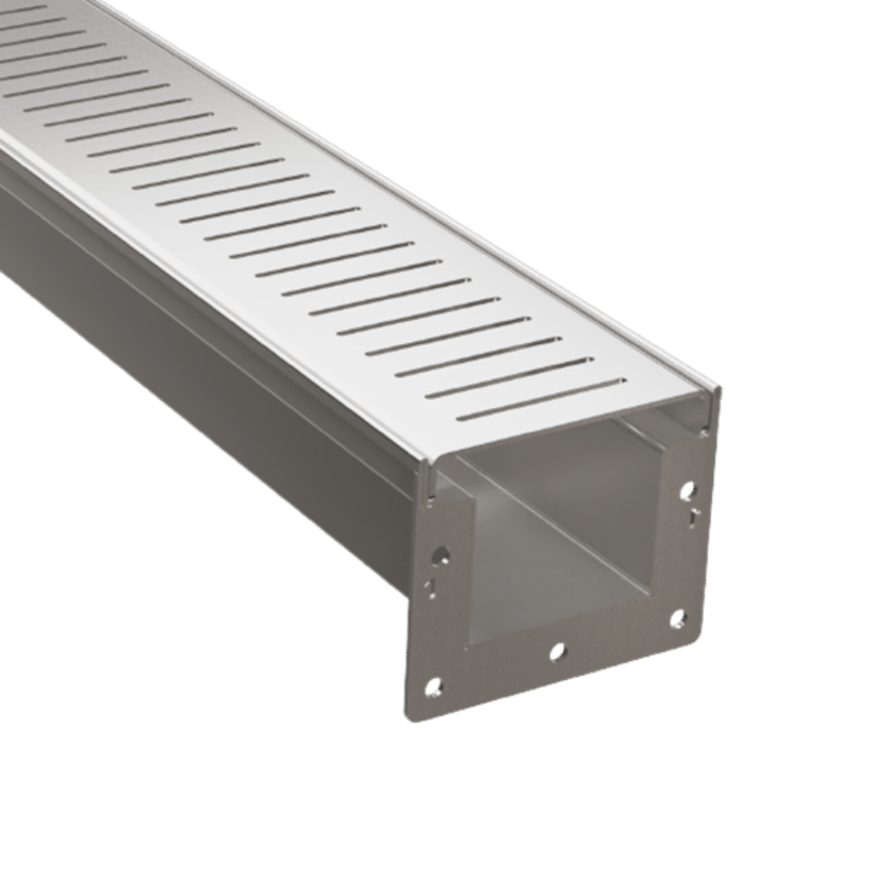
They feature an elongated opening covered by a slotted grate cover that prevents large objects from entering the drain channel. Water collects in a trench drain and is diverted to a specified outlet, like a sewage system, cistern, or swale. In some cases, the trench drain is combined with a sump pump which removes water from low-lying areas and can divert the water into a system like a rain garden.
Trench drains come in a wide range of materials, from plastic to stainless steel, and many companies now offer decorative grates for a more attractive appearance. A trench drain installation cost can vary depending on several factors, including the size of the drain, the material you choose for the system, and where the trench drain installation is going.

Before You Begin
Before starting the installation process:
-
Take the time to plan your new drainage system carefully.
-
Calculate the ideal placement of the trench drain on your property, how long it will be, and what size kit you need.
-
Carefully mark the area where you will be cutting, keeping in mind that the channel will require at least 4 inches of space and depth on all sides of the unit.
When you are ready to start, keep the area clear of obstructions so there is nothing in the way as you work, and less risk of injury and/or property damage.
Trench Drain Installation Instructions
Installing a trench drain isn't difficult as long as you take your time and do things carefully. Doing the job yourself or with the help of an expert can make trench drain installation costs significantly less. Follow these easy steps for a quick trench drain installation.
1. Dig and Prepare the Trench
Carefully excavate for the trench drain, using the proper tools to cut away the material. Keep in mind that the trench requires a minimum of 4 inches around all sides. Once you have the trench dug, clear it of any debris and add a 1-inch layer of gravel, using a tamper tool to compact it down.
2. Locate the Catch Basin
Identify the pipe stud-in location near the catch basin, and drill a cutout hole for the appropriate pipe size. Once this is done, you can connect the outlet to the catch basin. If you are not using a catch basin, and are directing water runoff to another area, skip this step.
3. Begin Laying Out the Drain Channel
Begin with the trench drain installation by laying out the pieces, starting with the lowest number at the discharge end of the system, and working your way up.
4. Determine the Appropriate Channel Height
A crucial step in installing trench drain systems is determining the channel height. If you do not place the channel at the correct height, the system will not work correctly. Connect the system using the rebar clamps and carefully caulk all the joints to form a tight seal. Once dry, cover the top of the drain channel and the side grate locks with tape to keep concrete from getting inside the system.
5. Backfill the Trench With Concrete
Now, you need to begin filling the trench with concrete. To ensure the drain channel is secure, you want to do this process in two steps: first, floating the channel 1/16-inch below the first layer of concrete. Then, once it has set, backfill the rest of the trench with at least 4-inches of concrete on both sides. Smooth it out, and allow it to cure fully.
6. Remove the Tape
Now that the trench drain installation is complete, you can remove the tape protecting the channel opening. Put the drain cover in place, and you now have a fully functional trench drain system to protect your property.
Say Goodbye to Standing Water With Landscape Drains
Nobody wants standing water on their property. It is unattractive and can be very destructive, by ruining your landscaping, hardscape, and potentially even causing damage to your home. The best protection is a drainage system like a trench drain.
Trench drain systems are extremely effective and can handle large amounts of water, which makes them ideal for flood-prone areas. While professional installation can be expensive, you can save thousands on the trench drain installation cost by taking on the project yourself. With a couple of tools, patience, and some trench drain installation instructions, you can have a new system in one weekend.
For the best in outdoor drainage solutions, including modern trench drains, contact the professionals at Landscape Drains today.
Recommended For You